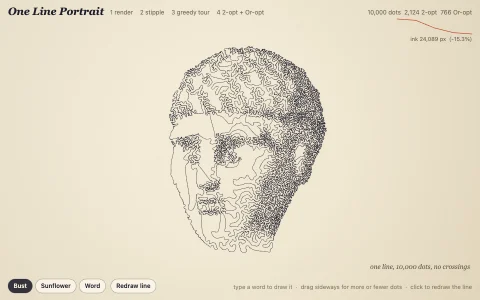
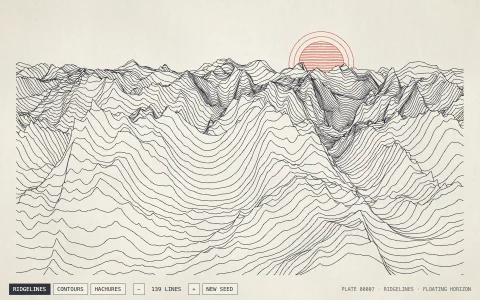
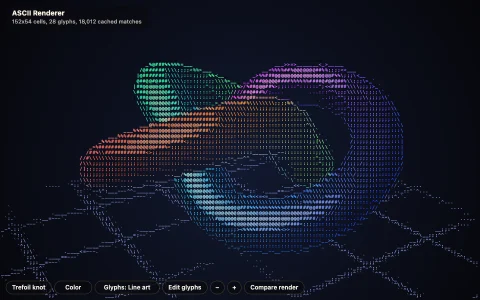
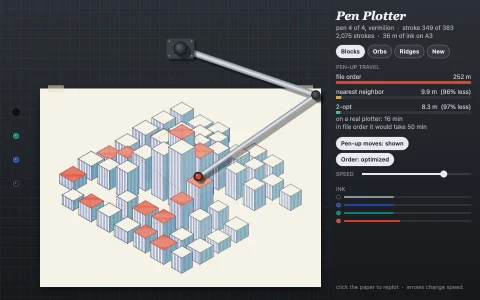
A moving 3D still life printed as a copperplate engraving, line by swelling line.
A software rasterizer fills a G-buffer with depth, object id, a lit tone (with a shadow map) and two surface coordinates whose level sets run along the lines of curvature: the parallels and meridians of the column, amphora and sphere, which are surfaces of revolution, and the folds of the drapery. The ink pass measures each pixel's distance to the nearest level line in screen pixels, using the coordinate's screen gradient from finite differences, and inks a line whose width grows with darkness, so lines swell in shadow and vanish in the light like burin cuts. Past half tone an oblique second family cross hatches into lozenges, and the deepest shadows get a dot in each lozenge. A power of two level of detail chosen per pixel, cross faded between levels, keeps line spacing near constant on the page, and because the lines are attached to the surfaces they move with the scene instead of swimming. Stipple and pen sketch styles reuse the same G-buffer, and the plate sits in an oval with a guilloche border drawn from phase shifted waves.
Try it. Drag to orbit the still life (or use the arrow keys). To move the light and watch the hatching follow the shadows, drag the light dial, right drag or shift drag anywhere on the plate, or press L. Switch between engraving, stipple and pen sketch with the buttons or keys 1, 2 and 3.
Paste this into Claude Code, Codex or any coding agent to get a simple version running, then take it wherever you like.
Build a 3D renderer that draws a rotating object as an old copperplate engraving, using JavaScript and the HTML canvas element. Write the rasterizer yourself on the 2D canvas (no WebGL, no libraries) and put everything in a single index.html file I can open directly in a browser.

Start simple:
- Make a vase as a surface of revolution: a profile of (radius, height) points spun around the vertical axis into a triangle mesh. Store a normal per vertex, plus a coordinate s equal to the height along the profile.
- Rotate it slowly, project the vertices with perspective, and rasterize the triangles into an ImageData buffer with barycentric edge functions and a z-buffer. For every pixel, keep the interpolated s and a tone from Lambert lighting.
- In a second pass, turn each pixel into ink: lines sit where s crosses a multiple of a spacing. Measure how far the pixel is from the nearest line in pixels, dividing by the screen gradient of s (difference it with the neighboring pixel), and ink it if that distance is less than a half width that grows with darkness. Lit areas should stay bare paper.
- Use a warm cream paper color and a dark brown ink.

Once that works, make it beautiful:
- Add a second family of lines along the angle around the axis, drawn only in the darker half of the tones, so shadows get cross hatching.
- Anti-alias the lines by computing how much of the pixel the line covers instead of a hard in or out test.
- Add a floor with a shadow from a simple shadow map, and frame the picture in an oval with a fine double rule.

Explain the key ideas in short code comments. When you're done, tell me how to open it and suggest three directions I could take it next, such as a level of detail scheme that keeps line spacing constant on screen, a stipple style, or a guilloche border like a banknote.