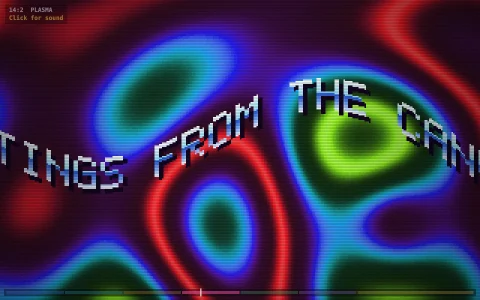
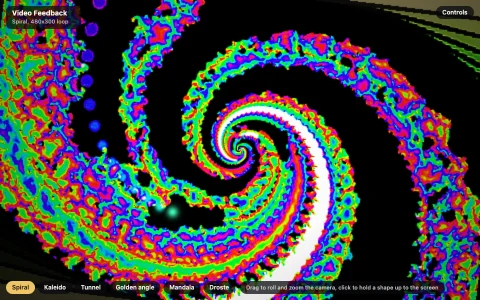
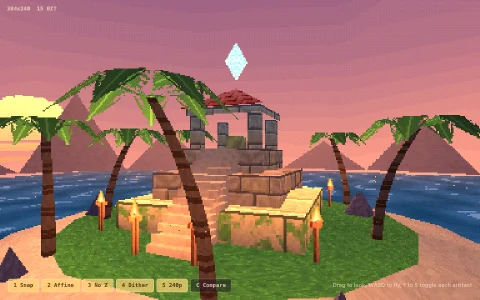
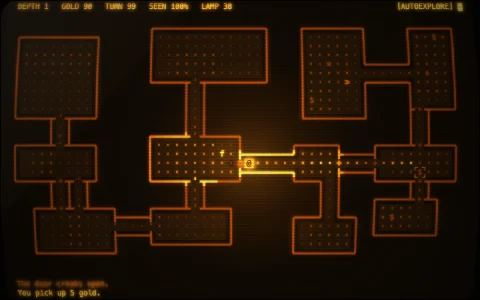
An emulated electron beam, decaying phosphors and a shadow mask, under a 7x loupe.
A tiny demoscene animation is drawn at the tube's native resolution and treated as the video signal. An emulated beam scans it into a phosphor buffer with separate red, green and blue energies, each decaying with its own time constant, so moving things leave trails that redden as the fast blue phosphor dies first. Each screen pixel is shaded from that buffer: the curved glass is a barrel warp, every scanline is a Gaussian spot that widens as it brightens, the color guns misconverge toward the edges, and the light passes through an aperture grille, a shadow mask or a slot mask before downsampled copies add bloom and halation. Degaussing wobbles the raster and sweeps purity blotches across it, slow motion shows the beam painting the picture line by line, and the loupe evaluates the same model at seven times magnification, down to individual phosphor stripes and dots.
Try it. Hold on the screen to magnify it and drag the loupe around; tap the glass or press D to degauss. Drag the knobs up and down for brightness, curvature, persistence and convergence, click the buttons (or press M and S) to switch the mask and slow the beam down, press Z to toggle the loupe, use the arrow keys to nudge brightness and curvature, and press P to power cycle the tube.
Paste this into Claude Code, Codex or any coding agent to get a simple version running, then take it wherever you like.
Build a CRT monitor simulation with JavaScript and the HTML canvas element, without WebGL. Put everything in a single index.html file with no libraries or build step, so I can open it directly in a browser.

Start simple:
- Make a canvas that fills the window and draw a dark plastic monitor with a 4:3 screen in the middle.
- Create a small offscreen canvas of about 160x120 pixels and animate something simple and colorful on it: a bouncing ball, some moving horizontal color bars and a line of text. This is the "video signal".
- Each frame, read the signal with getImageData and render the screen yourself into an ImageData about three times bigger. For each output pixel, find which signal line it is closest to and weight it with a Gaussian of the distance, so dark gaps appear between the scanlines.
- Multiply each output pixel by an aperture grille: repeating vertical stripes where every third column keeps only red, then green, then blue. Brighten the result to make up for the light the mask removes.

Once that works, make it beautiful:
- Add phosphor persistence: keep a separate buffer of red, green and blue energy that decays every frame (blue fastest), and set each pixel to the larger of its decayed value and the new signal, so moving things leave colored trails.
- Curve the glass with a barrel distortion of the sampling coordinates, darken the corners, and add bloom by drawing a scaled-down copy of the screen back on top with "lighter" blending.
- Add a degauss key that makes the picture wobble and tint with a decaying sine wave.

Explain the key ideas in short code comments. When you're done, tell me how to open it and suggest three directions I could take it next, such as a shadow mask option, a magnifying loupe, or a slow-motion beam that shows the picture being drawn line by line.